
Memao Sprite Sheet Creator
Galv Plugin Setup Guide
Using Memao Sprite Sheets with RPG Maker
Normally, RPG Maker's built-in character animations use a specific format: a sprite sheet with 3 columns and 4 rows. However, Memao's character animations use a different frame count that isn't compatible with this standard format.
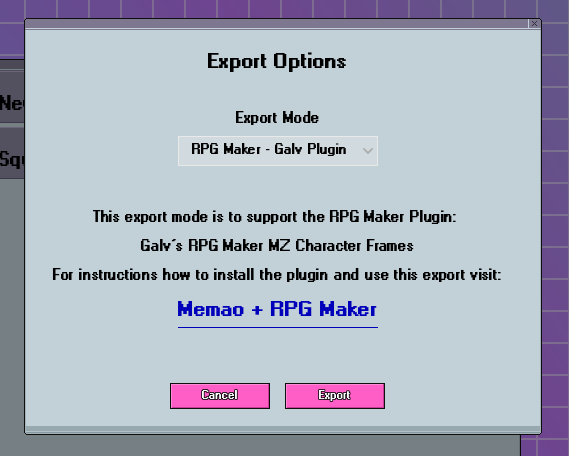
This guide will show you how to use your Memao characters in RPG Maker MV/MZ with the help of Galv's RPG Maker MZ Character Frames plugin. We've created a special export option that will work with this plugin right out of the box.
What Our New Export Option Does
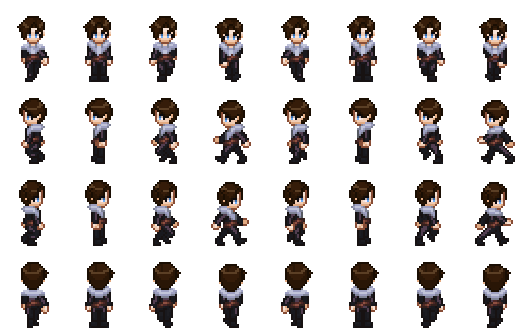
The RPG Maker - Galv Plugin export option creates a sprite sheet with 8 columns and 4 rows. This sheet includes a walking animation with two idle frames built in, which is optimized for the Galv plugin and the look of our animation. It also automatically scales the sprites up by 2x to better match the tile size in RPG Maker.
Step 1: Install the Plugin
First, you need to download and install the plugin.
- Download the GALV_CharacterFramesMZ.js file:
- In RPG Maker, go to Game > Open Folder.
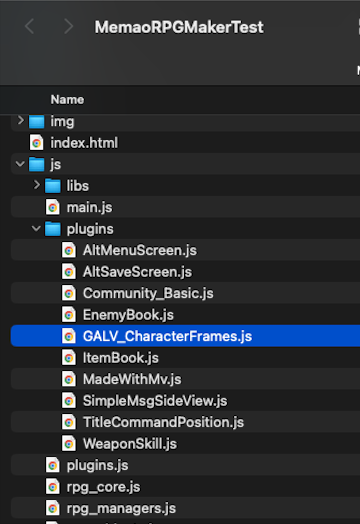
- Navigate to the js > plugins folder and copy the GALV_CharacterFramesMZ.js file into it.
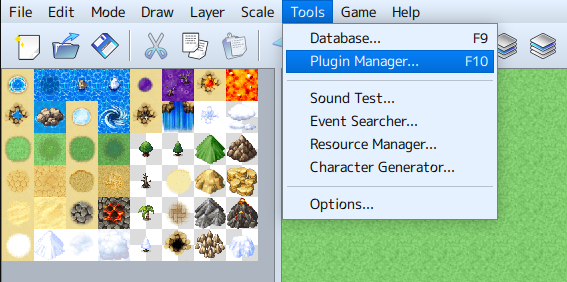
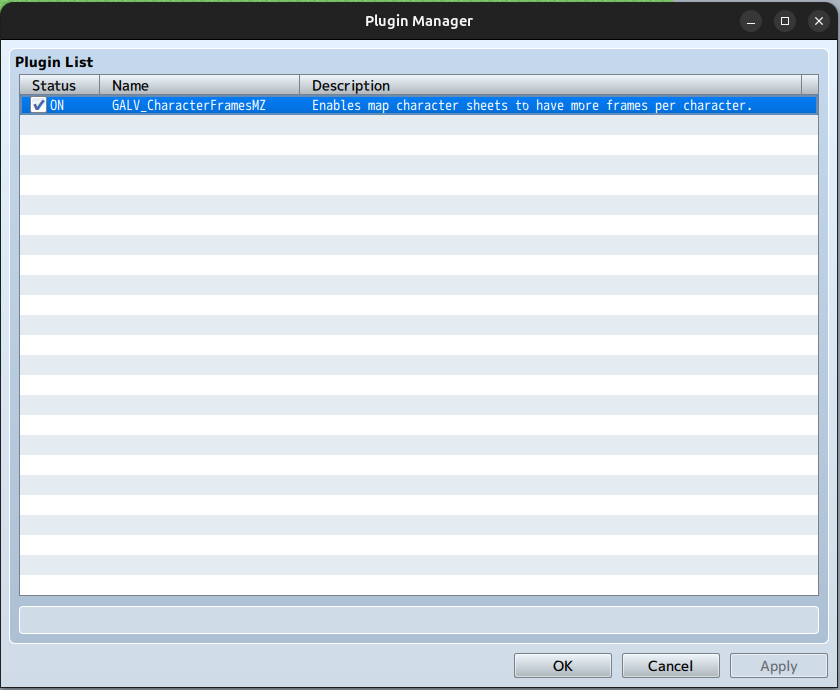
- Next, go to Tools > Plugin Manager....
- In the new window, double-click to add a new plugin and enable GALV_CharacterFramesMZ.
Step 2: Export and Name Your Sprite Sheet
After you create your character in the Memao Creator, use the RPG Maker - Galv Plugin export option.
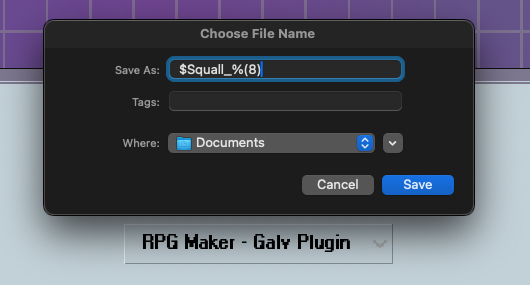
- When you save the file, you must name it using this specific format:
${name}_%(8).png.- The
$and%(8)part is crucial. The%is a flag that tells the plugin how many frames are in each row, and the(8)specifies that there are 8 frames per row on your sheet. The $ is needed at the beginning of the filename to allow the plugin to take over frames.
- The
Step 3: Add Your Sprite Sheet to RPG Maker
Now, you'll need to place your new sprite sheet in the correct folder.
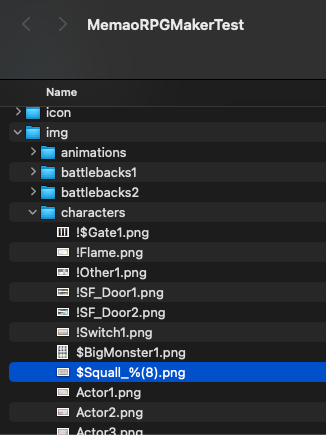
- In RPG Maker, go to Game > Open Folder.
- Navigate to the img > characters folder and move your newly exported sprite sheet into it.
Step 4: Use the Sprite Sheet for a Character
Finally, you can assign your custom sprite sheet to an actor in your game.
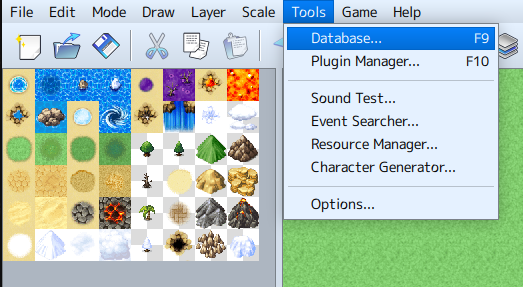
- Go to Tools > Database... and select the Actors tab.
- Choose the actor you want to edit.
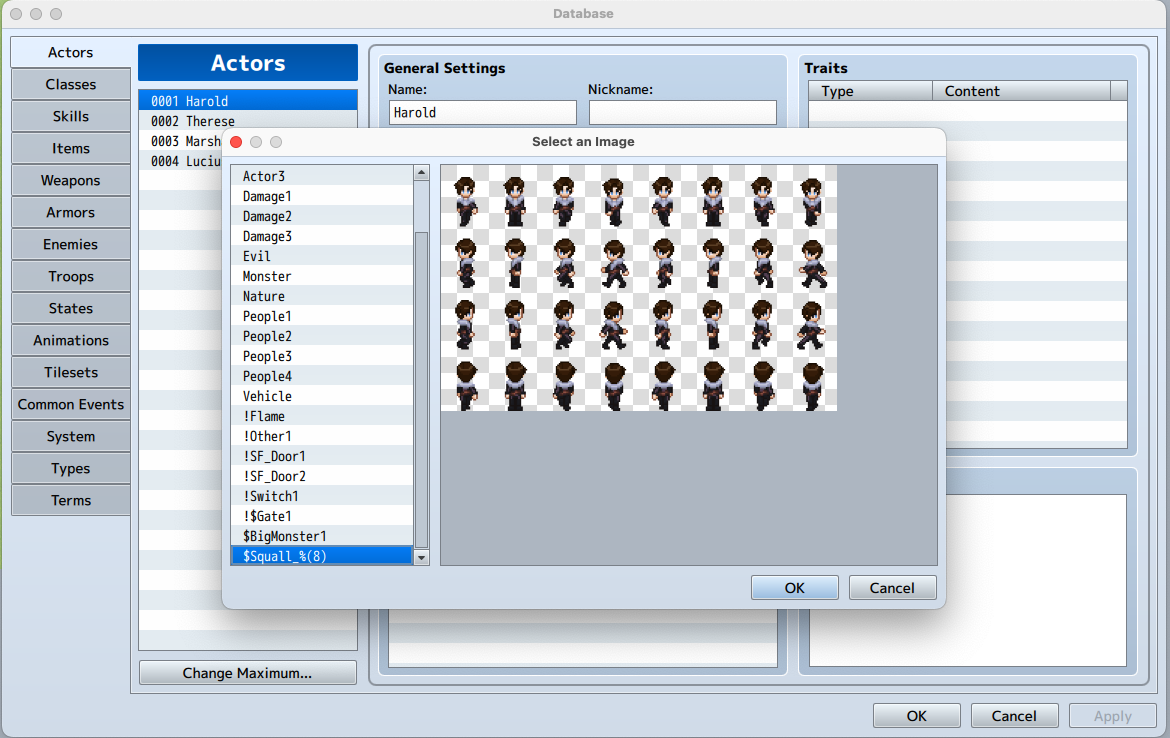
- Click on the Character Image box. This will open a new window showing all available sprite sheets.
- Find the one you just added and click OK.
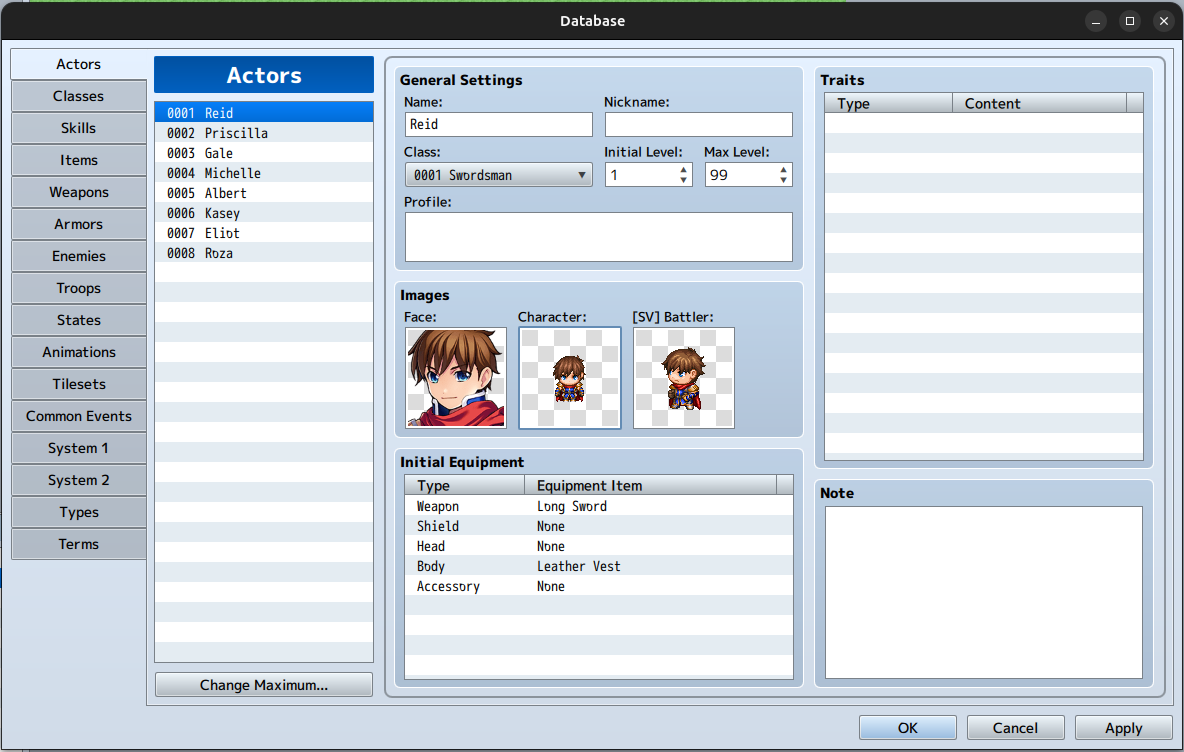
Your actor will now use the custom Memao sprite sheet and will walk and idle correctly on the map!
We're always looking for new ways to support the RPG Maker community, and we hope this feature is a great first step!
Leave a comment
Log in with itch.io to leave a comment.